Showing posts with label Sizzix Embosslits. Show all posts

Monday, October 22, 2012

Purple Thank You

I have a card to share with you. If you are a person that really likes purple, then this may be one you really like. This is the first card designed for my thank you card class. I have 2 others done, but need to make one more. I will be posting them very soon.

To make this card you will need elegant eggplant, perfect plum, very vanilla cardstock, and a little bit of first edition specialty designer series paper. You will need your big shot, the lacy brocade textured impressions embossing folder, fashionable hearts embosslits, and the delicate doilies sizzlits (largest one). The stamp sets used are from the From My Heart set and the Tiny Tags set. You also need a stampin' sponge, which I used on the designer series paper. I just about forgot one more thing. You will also need the 1 3/8" square punch to make the bottom of the designer series paper look like a ribbon.

I am sorry that the quality of the picture isn't the greatest. Once again, it is the lighting. They always look much better in person than on here. Sorry about that.

Have a wonderful day. Hopefully, you can get some stamping time in. I will be posting more in the next few days. Leave a comment if you want, otherwise, thank you so much for visiting. I hope you come back more often and you like what you see.

Now go-n-stamp!!

Tuesday, March 8, 2011

Cards of Elegance

Do you ever look at a card and just think to yourself, "Now, that is elegant?" I don't mean pretty or beautiful, either, I mean "elegant." For my upcoming card class, that is what I was wanting to try and accomplish. Cards with elegance!
The layered example below was really the second card I had made. I was not sure at first if it was going to have the elegant look about it, but in the end, I believe, that it does fit into that category. I believe it took adding some rhinestones and dimension to give it the look of elegance I was looking for. I would love to hear if you think it is elegant or not. I will not be offended if you don't agree.
This is a close up of the dimension that is on the card pictured below. This was also the first card I had made for my class. I thought right away that this was definitely an elegant card. The stamp set "vintage vogue" is such a great set to get the look of elegance.

Of course, I had to show you the total picture of what the card looked like. I did end up changing two things on the card though. At first, the saying "thank you" was in an oval shape. I didn't think it looked right. The other thing I changed was adding the design to the saying. The original I only had the saying, which left it white and boring, in my opinion.

I have two more cards to come up with yet to be finished with my elegance class. Pray I can figure them out. I do have a couple of ideas in my head, but I need to make them into reality.
Thanks for looking. If you have any questions about these cards feel free to ask by leaving it in a comment. Also, tell me what you think of these.
Now go-n-stamp!!

Sunday, February 6, 2011

All in the Folds

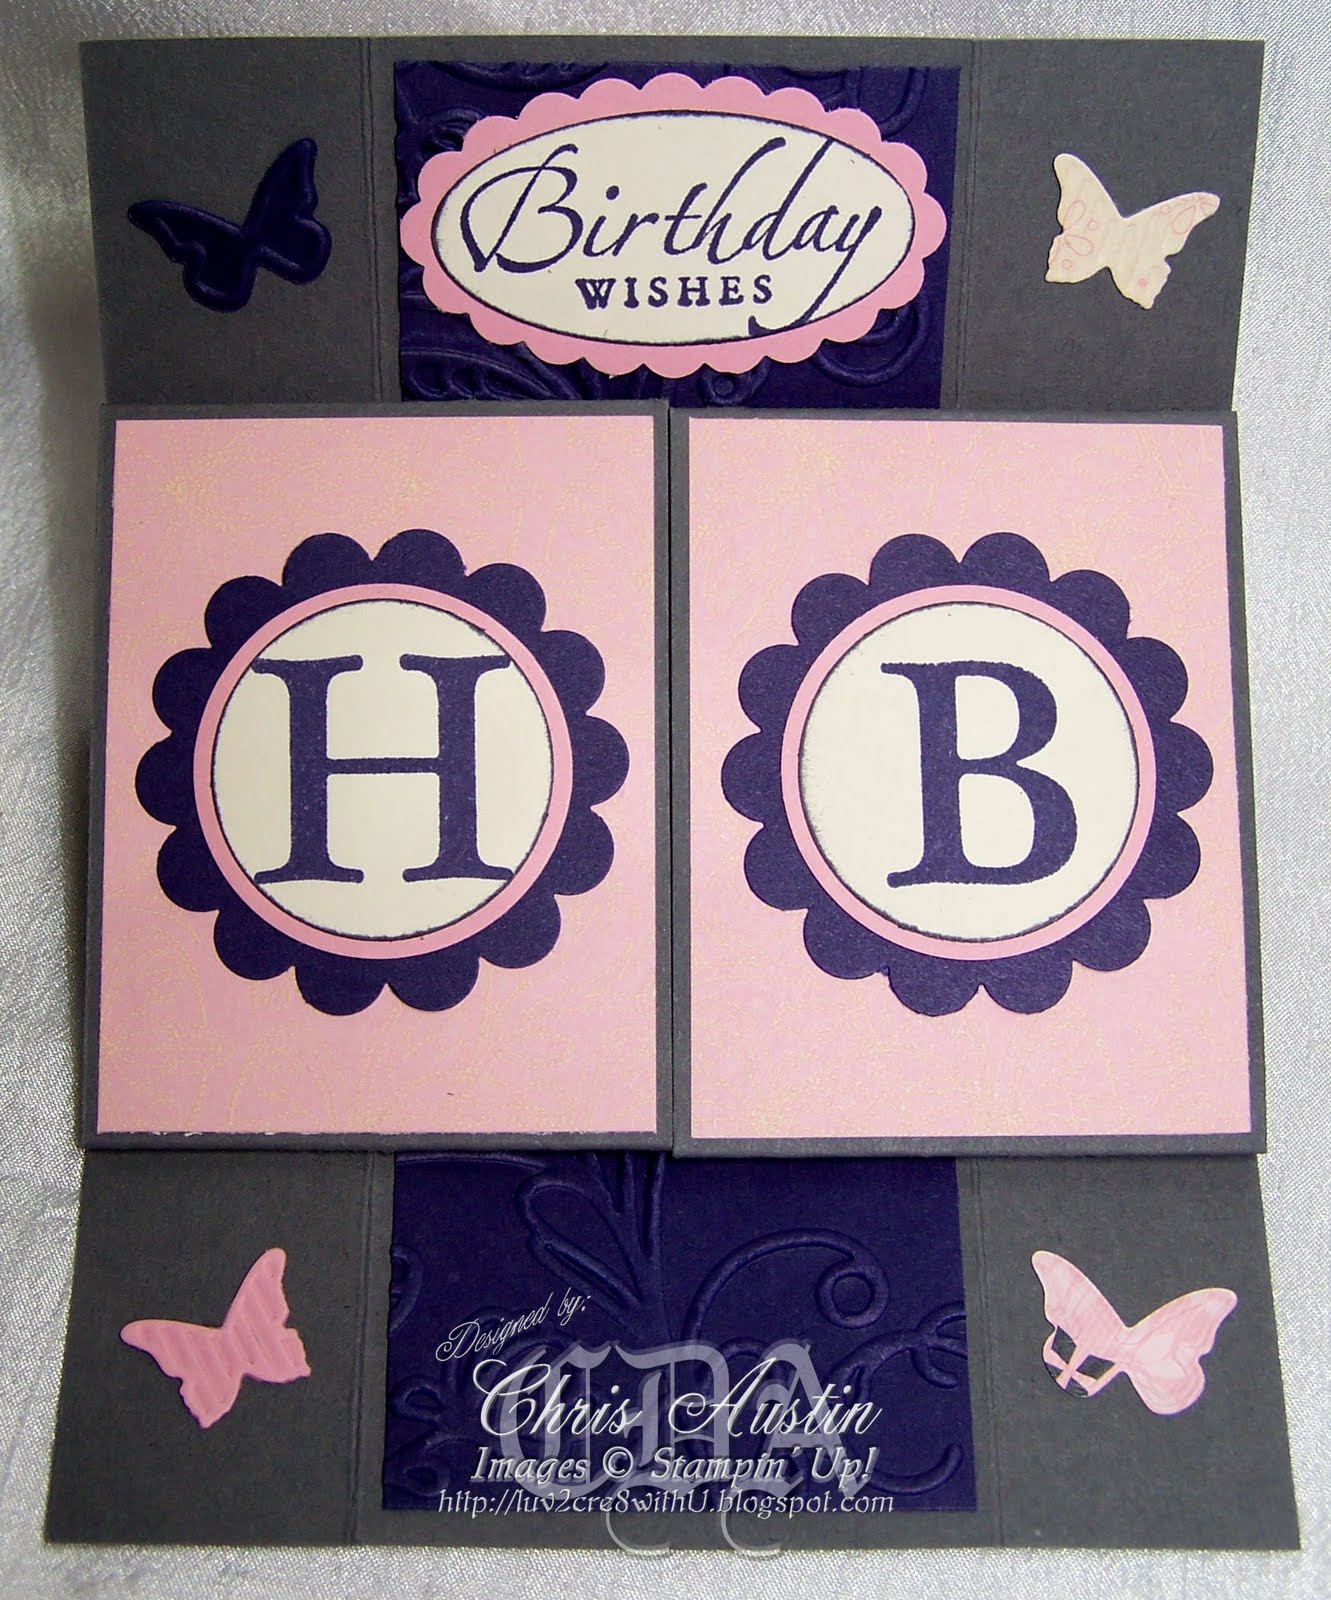
Have you ever looked at a card and knew right away that you want to try and make one too? That is exactly how I felt when I seen this card in the Stampin' Success Magazine (February 2011). It is not an exact duplicate of the one in the magazine, but it folds like it.

This card is very neat. It continuously unfolds over and over always returning to where you originally started. My daughter's birthday was coming up. I thought this would be neat to make for her. I waited to post it on here until she got it and seen it for herself. She and her husband both thought it was pretty neat.

The fun thing about the card is that it looks like it is very complicated to make. Guess what? It really isn't. The main thing is that your cuts have to be precise.


These are Stampin' Up! supplies I used to make this card.
Cardstock: basic gray, pretty in pink, concord crush, pink pirouette, very vanilla, and lap of luxury dsp
Ink: basic gray, concord crush
Stamp sets: sincere salutations and defining alphabet
Tools: build a cupcake punch, big shot, elegant lines embossing folder, backgrounds 1 texturz plates, dotted scallop ribbon border punch, beautiful wings embosslits die, swirls scribbles sizzlits die, scallop oval xl punch, 1 3/4" x 7/8" oval punch, 1/2" circle punch, 1 3/4" scallop circle punch, 1 1/4" circle punch, and 1 3/4" circle punch.
Thanks for taking the time to visit my blog. You can always leave a comment!
Now go-n-stamp!!

Monday, December 13, 2010

Gift Tags for Christmas

Christmas will be here very soon! Have you been working on cards, tags, and little gifts? I hope you have found time to do it. Homemade items are so fun to make and give away. I am really going to try to get some other projects done and posted in the next few days/week.

Here are some gift tags I made using the Big Shot (113439) and the two tags bigz die (115954). They are quick and fun to make. I used quite a few punches to decorate them. You can tell me what you think by leaving a comment at the bottom of this post. I love comments!

I wanted to show you a close-up of one of the tags. This shows you the dimension and detail better.


These are some of the Stampin' Up! items I used to create these tags.

Cardstock: garden green, real red, night of navy, baja breeze, blushing bride, shimmery white, and Candy Land DSP
Classic Ink: real red and night of navy
Tools: big shot, two tags bigz die, elegant lines, petals-a-plenty, and northern flurry embossing folders, white gel pen, platinum shimmer paint, 5 petal flower XL, snowflake XL, ornament XL, eyelet border punch, dotted scallop ribbon border, and the two step bird XL punches, stampin' sponge, and corner rounder
Accessories: clear and silver tinsel trim, silver elastic cord (retired), and silver brads

Have fun creating home made papercrafts!

Now go-n-stamp!!

Thursday, August 26, 2010

Sunny Butterfly

Hello, once again. I hope that everyone in blogger world is doing great.
I have another butterfly card to share with you, today. This one I did not add a sentiment on because I thought it had enough as it is. I called this the "Sunny Butterfly" because when you look at it, well, it is bright and sunny looking.

For this card I used the stamp set, Upsy Daisy. I tried to make layers by stamping the flowers twice using daffodil delight and pumpkin pie classic ink. I used my beautiful butterflies bigz die and ran it through the Big Shot. For cardstock colors I used real red, chocolate chip, and greenhouse gala DSP. For the little butterflies I used the beautiful wings embosslit die and ran it through my Big Shot, also. The swirls is a sizzlit die called swirls scribbles. The cardstock I used for it was pear pizzazz.

I hope this will inspire you to get your rubber stamps out and create a card or 3-D project. Let me know if you do. I would love to visit your blog too. If you don't mind, please leave a comment telling me what you think. Hmm.....you may think I should have put a sentiment on it. Tell me if you think so.

Now it is your turn to go-n-stamp!!

Tuesday, August 3, 2010

Beautiful Butterfly

I don't know about you, but for some reason my most favorite card in the new Stampin' Up! catalog is on page 132. I knew I wanted to make a card with a butterfly using the same technique they used to create their card. I do not like to case someone else's work. I had to do mine differently anyhow because I do not own the stamp set they used. Well, anyways I am very pleased with the end results. I did practice on some sample butterflies the technique. It took me a few tries to get it to look the way I wanted it.

This card is going to be one of the 4 cards being made at my next class, which is next week. I have a feeling I am going to hear when they make theirs that they won't want to give it away. Yes, I have heard that. It is pretty funny.

This is the recipe I used to make this card. All products are Stampin' Up!.

Stamp sets: priceless and teeny tiny wishes; Cardstock: rich razzleberry, elegant eggplant, and naturals white; Ink: versamark and elegant eggplant; Technique: poppin' pastels and clear embossing; Tools: scallop border punch, beautiful wings sizzlit die, beautiful butterflies bigz die, and big shot; Accessories: clear rhinestone brad.

I hope you have been inspired by this card to make one for yourself. Please leave me a comment of what you think. :-)

Now go-n-stamp!!

Friday, April 9, 2010

Thank You Cards

Hello blogging friends. It has been a while since I have posted. I hopefully can make up for it by the amount of cards I am posting right now.

I was asked to make thank you cards for someone special. I was honored to even be asked. They could have asked someone else if they had wanted, but for some reason they chose me. Yeah!!

I am not going to go into details of how these were made. I was asked to keep them simple. I have tried to do that. The way I started off was to pick out designer series paper I liked and then the cardstock that matched it. I cut the card base and then the designer series paper however I wanted it to fit onto the card base. I did this for all of the cards before I even started gluing or adding embellishments. Once that was done, I went ahead and glued the designer series paper to the cardstock along with ribbon. After that I have added the embellishments. It has went very quickly. For me, that is saying something. I take a long time to make cards. Hmm......maybe I am finally getting faster at it.

I hope that you enjoy looking at them. I will be posting some more, maybe tomorrow. I have some more to finish up.


I used a lot of retired designer series paper to make these cards. Some of you may have some of it on hand too. Everything used is Stampin' Up! products.
Please tell me which is your favorite card. The cards look much better in person than on here. I may have to figure out another way of taking pictures. These will do for now though.
I hope you are inspired to make your own cards now. They are very easy and fast!! Have a great day!
Now go-n-stamp!!

Saturday, March 27, 2010

Pocket Card Class

I have been working for a few days on these cards for an upcoming class. I decided it would be neat to have a pocket card class. There is a bunch of sites that you can go to, to get the information you need to make these types of cards. I hope if you really like one of them you will find out how to make it. You could always email me too.

The first card you see is called a double pocket card. I have 3 different images for you to look at. There is still room to add a sentiment on the front or even on the inside of this card.

This is what it looks like with the inserts in place on the inside. You could use these as bookmarks or just add whatever personal message you want.

This image I pulled up one of the inserts for you to see. Like I said, these are fun to make. I really like this card. You could even attach a gift card if you wanted to. The possibilities are endless.
I used retired SU! DSP delicate dots. Along with is I used certainly celery, so saffron, whisper white, and bashful blue cardstock. I used the extra large flower punch, priceless stamp set, pastel brads, the photo corners punch, and the sizzix simple flower embosslit.

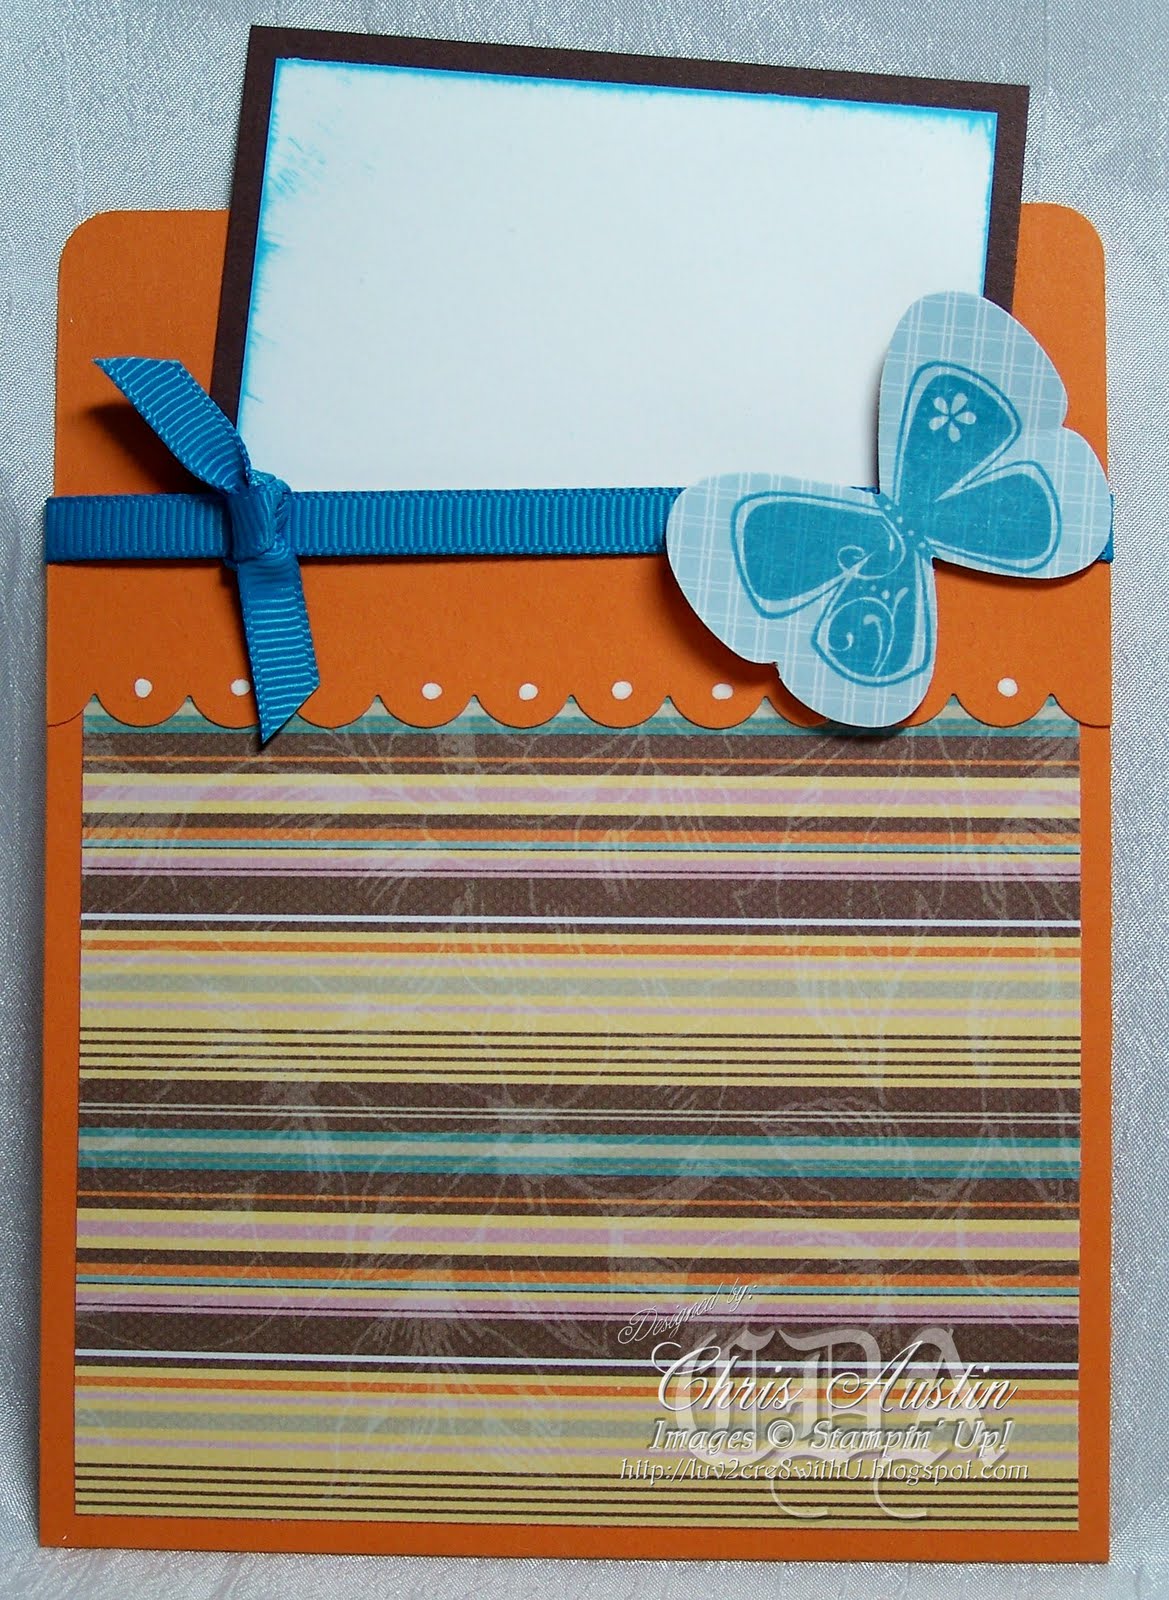
Below is a pocket card. I was not happy with my color choice, but it has kind of grown on me. I am not an orange type of person, I guess. With the DSP I used I could have went with quite a few different color choices for the card base. I try to pay attention to what I have for ribbon colors though. That is what helps me determine which colors to go with.

Here is an image with the insert pulled out just a little bit for you to see. You could actually add stamped images on it if you want, but I did not.

I used pumpkin pie, chocolate chip, whisper white, and the sweet pea designer series paper stack for cardstock. I just bought the butterfly punch recently. I thought it would look good for an embellishment. I also used the scallop edge punch and the priceless stamp set. Lastly, I used tempting turquoise 1/4" grosgrain ribbon.

This card is called a criss cross card. I decided since it had a pocket it could be included in my class. It is really simple to make and works up fast. The first image shows you with the insert out and turned on end.
The image below is what it looks like when it is ready to go into an envelope. For colors I used rich razzleberry, old olive, whisper white, and cottage wall DSP.

This last card is called a crimped envelope pocket card. It turned out very pretty. I just wish you could tell in the picture. Once again, the camera didn't do the best.

Here is a picture of what it looks like with the top pulled off and the insert out of the pocket. I wanted to put a stamped image on it.

The main part of this card is an envelope. I used pale plum, almost amethyst, and whisper white cardstock. The stamp set is upsy daisy, which makes such beautiful cards. I did also use the frost white shimmer paint on the scalloped image. Shimmer paint is great. I love it.

I hope I have inspired you. Please leave me a comment.

Now go-n-stamp!!

Friday, March 19, 2010

Easter Cards

Wow! Time sure does fly by. It has been a while since I have posted something on here. I have been busy at work this week. Today I had a day off and decided I wanted to make a few cards. My mom needs some Easter cards. I designed these for her. I hope she likes them. I do not have a stamp set that has a cross, so I used what I could think of.

This card is easy to make. I used the perfect details texturz plate for the background. I made it stand out by adding so saffron ink with a stamping sponge. I love the richness it gives. I used my build a brads to make the center of the flower. For cardstock I used so saffron, almost amethyst, whisper white, pretty in pink, certainly celery, and tea party DSP. For tools I used the wide oval punch, the scallop oval punch, the 5-petal flower punch, the extra large flower punch, the 1/2 inch punch, and the scallop border trim punch.

This is my favorite of the 2 cards. I have a hard time just using anything for an Easter card. This one reminds me more of the true meaning. The first one is just more springy. I used the same colors for this card as I did for the one above it. I used the stamp set fifth avenue floral and well scripted. For tools I used the eyelet border punch, the beautiful wings embosslit, and the big shot. I also used 1/4" pretty in pink grosgrain ribbon.

This was a third card I came up with also. As you can see I used the same colors and paper. I just changed it up a bit. You can do it too.

Thanks for taking the time to look at my blog. I hope I have inspired you to want to stamp also.

Now go-n-stamp!!

Monday, January 25, 2010

Joy Fold Card

I am working on some different cards for an upcoming class. I want them to be different than the usual 5 1/2" by 4 1/4" card. Be watching over the next few days to see the cards I have come up with for this class.

To start, I made a Joy Fold Card. I have never made one of these before. They make up fast and are fun to do. You could add more to them or just leave them very basic and simple.


These are the Stampin' Up! supplies that I used to make this card.
Stamp Set: Priceless
Cardstock: rich razzleberry, old olive, orchid opulence
DSP: Cottage Wall
Tools: Big Shot, embosslit die beautiful wings (occasions mini catalog), scallop circle punch, 1 3/8" circle punch, 1 1/4" circle punch, 1/16" hole punch, white gel pen, and stamping sponge
Accessories: clear rhinestone brad

The smaller picture gives you a glimpse of what it looks like when it is open.

Thanks for visiting. I pray you have a wonderful day. If you have a minute please take the time to comment and tell me what you think of this card.

Now go-n-stamp!!

Saturday, December 26, 2009

Fast 3 x 3 Cards

I received some presents from some of my co-workers this week. I wanted to thank them for their gifts and kindness for thinking of me. I decided to make 3 x 3 thank you cards for them. We have lockers that we store our things in at work. A regular sized card (5 1/2 x 4 1/4) is too big for me to put into the slots. I decided the 3 x 3 size will work great. Now my only concern is if they will fit because of the ribbon and dimensionals. If not, I will just have to hand them out. No big deal!
Altogether I needed 4 cards. The first two shown below are made using the Upsy Daisy stamp set. I used 1/4 inch grosgrain ribbon to add dimension to each of them also. I am pleased with how they turned out. For the real red and basic black card, I also used the modern label punch and the word window punch.

I wanted to try the embossing folders on a couple of them to see how it looked. I really like the Manhattan Flower (rich razzleberry) card. The other card is made with the Elegant Bouquet embossing folder. I really like the embosslit die with the butterflies. It will be available to purchase in January. I also used the large oval and scallop oval punches.


Thanks for stopping by and looking at my blog. I hope it gives you the inspiration you need to help you want to create also. It is sooo much fun!! I would love to know what you think of them. Leave me a comment! Please!!
Now go-n-stamp!!